Achieving professional-quality audio is fundamental to podcast success. While investing in quality equipment matters, understanding proper microphone techniques can transform even modest setups into broadcast-ready recording environments.
Understanding Microphone Polar Patterns
The polar pattern of your microphone determines how it captures sound from different directions. For podcasting, you'll primarily work with three pattern types: cardioid, omnidirectional, and figure-8. Cardioid microphones capture sound primarily from the front while rejecting noise from the sides and rear, making them ideal for solo podcasters and controlled environments.
Most professional podcasters prefer cardioid condensers like the Shure SM7B or dynamic microphones such as the Electro-Voice RE20. These patterns provide excellent isolation, crucial when recording in less-than-perfect acoustic spaces. Understanding your microphone's polar pattern helps you position yourself correctly and manage room acoustics effectively.
The Proximity Effect and Distance Management
Proximity effect refers to the increase in bass response as you move closer to a directional microphone. While this can add warmth and presence to voices, excessive proximity causes muddy, boomy audio that's difficult to correct in post-production. The optimal distance for most podcast microphones ranges between 6 to 12 inches from your mouth.
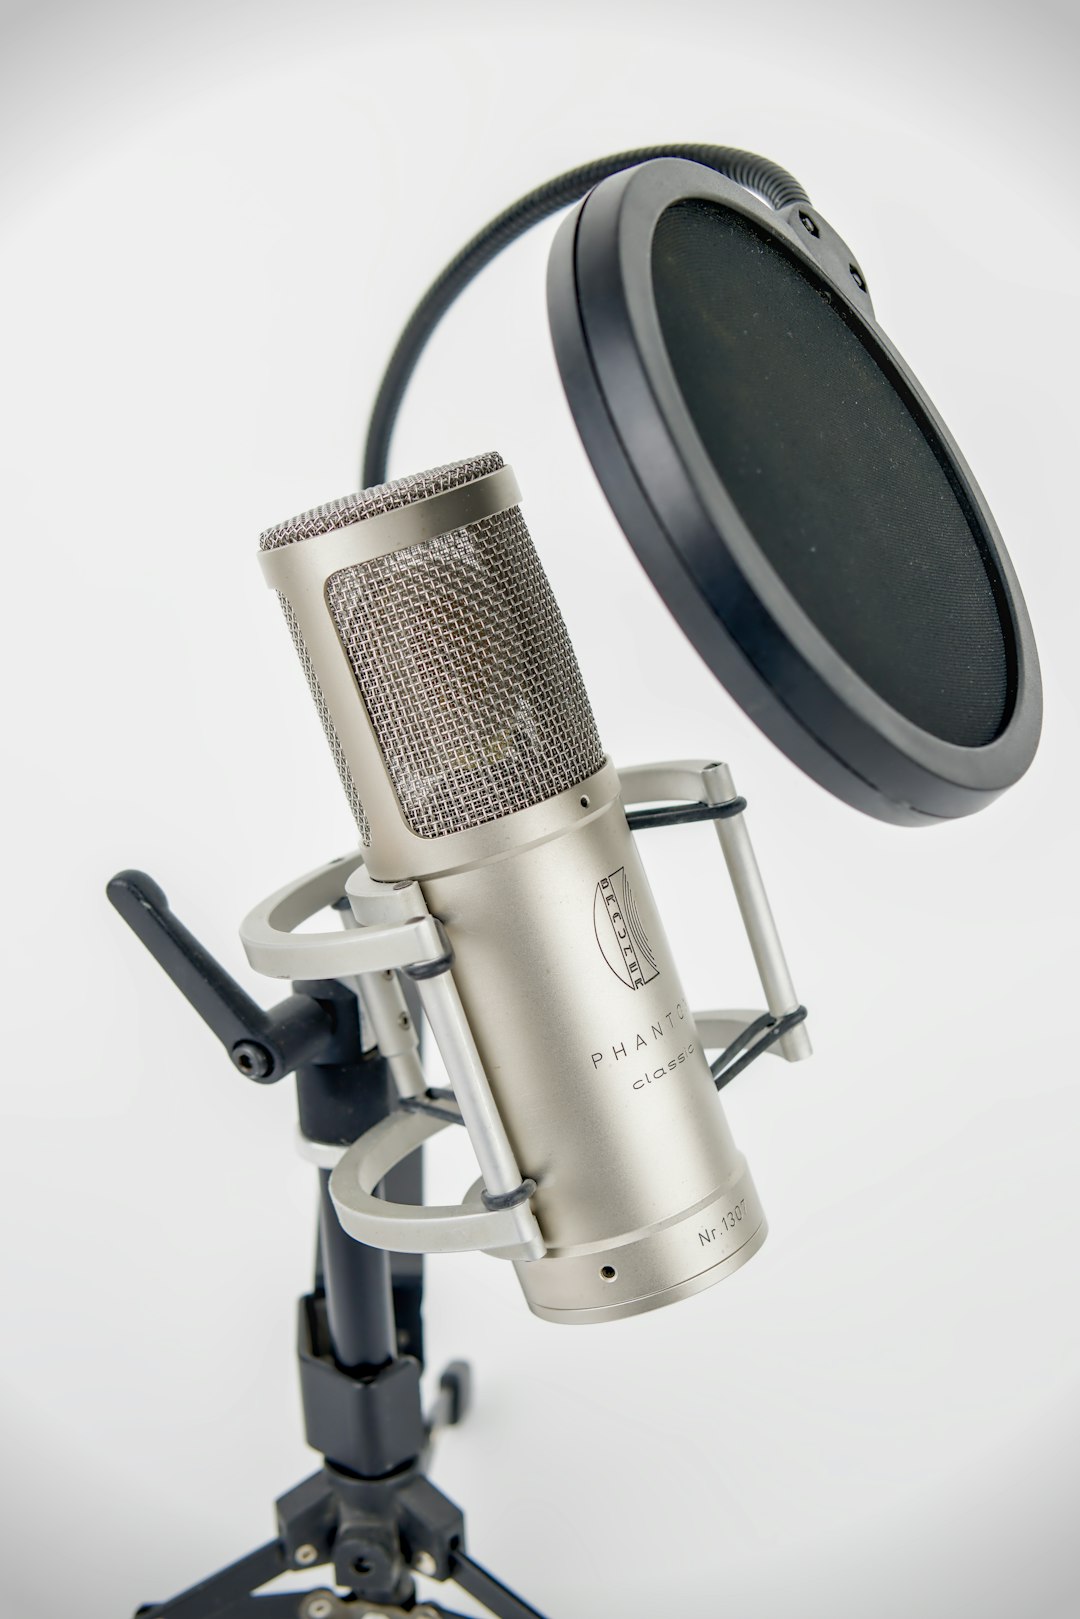
Maintaining consistent distance throughout your recording ensures uniform audio quality. Consider using a pop filter positioned at the correct distance as a visual guide. This not only reduces plosive sounds but helps maintain proper mic technique during animated discussions or interviews.
Microphone Placement and Angle
Proper microphone positioning extends beyond distance. The angle at which you address the microphone significantly impacts sound quality. Speaking directly into the microphone's diaphragm captures the fullest frequency response, but this position also makes you more susceptible to plosives from "p" and "b" sounds.
Many experienced podcasters position their microphone slightly off-axis, typically 15 to 30 degrees to the side. This technique reduces plosives while maintaining excellent sound quality. Experiment with positioning to find the sweet spot that captures your voice naturally without excessive breath sounds or plosive impacts.
Managing Your Recording Environment
Even the finest microphone techniques cannot overcome poor room acoustics. Hard surfaces like walls, windows, and desks create reflections that cause hollow, echoey recordings. Professional podcast studios use acoustic treatment panels, bass traps, and diffusers to control these reflections.
For home podcasters, simple solutions prove remarkably effective. Heavy curtains, bookcases filled with books, and carpeted floors all absorb reflections. Recording in smaller spaces like closets surrounded by clothing can create surprisingly good acoustics. The goal isn't complete sound isolation but rather controlling reflections that degrade audio quality.
Gain Staging and Input Levels
Proper gain staging ensures clean recordings with adequate headroom. Set your input gain so peak levels during normal speech reach around negative 12 to negative 6 decibels. This provides sufficient signal strength while leaving headroom for louder moments without clipping or distortion.
Many beginners record levels that are too low, requiring excessive amplification in post-production that introduces noise. Conversely, recording too hot creates distortion that's impossible to remove. Monitor your levels constantly during recording and adjust gain before starting rather than attempting to compensate later through processing.
Microphone Handling and Noise Control
Physical microphone handling introduces unwanted noise into recordings. Invest in a quality shock mount that isolates the microphone from vibrations transmitted through your desk or mic stand. Even typing on a keyboard or adjusting papers can create rumbling noise in sensitive condenser microphones.
Use a boom arm rather than a desk stand whenever possible. Boom arms provide better positioning flexibility and reduce transmitted vibrations. If you must use a desk stand, place it on a foam pad or shock-absorbing material to minimize structure-borne noise.
The Importance of Headphone Monitoring
Always monitor your audio through closed-back headphones while recording. This real-time feedback allows you to catch technical issues immediately rather than discovering problems during editing. Listen for changes in your distance from the microphone, background noise, and overall audio quality.
Develop the discipline to wear headphones throughout your recording session. Many podcasters remove them for comfort but miss critical audio problems as a result. Quality monitoring headphones like the Beyerdynamic DT 770 PRO or Audio-Technica ATH-M50x provide accurate representation of your recorded sound.
Practical Application and Consistency
Professional podcast sound comes from consistent application of proper techniques. Mark your microphone's optimal position with tape on your desk or boom arm. Maintain the same seated position and posture for each recording session. These small details ensure consistent audio quality across episodes.
Record test segments before each session to verify your setup. Listen back critically and adjust as needed. This habit prevents entire episodes recorded with suboptimal settings and develops your ear for recognizing quality audio.
Mastering microphone technique requires practice and attention to detail, but the results dramatically improve your podcast's professional quality. Combined with proper equipment selection and basic acoustic treatment, these techniques enable you to create broadcast-quality audio that engages and retains listeners.