Creating a professional podcast studio doesn't require massive investment or perfect acoustic spaces. Strategic equipment selection, basic acoustic treatment, and proper technique enable podcasters to achieve broadcast-quality results from home studios on reasonable budgets.
Selecting Your Recording Space
Room selection significantly impacts recording quality regardless of equipment investment. Smaller rooms generally work better than large spaces for podcast recording, as they're easier to treat acoustically and naturally reduce excessive reverberation. Avoid rooms with parallel walls when possible, as these create standing waves that color your recordings.
Spare bedrooms, home offices, and even large closets make excellent podcast studios. Look for spaces away from external noise sources like busy streets, HVAC systems, and household appliances. Rooms with carpeting, furniture, and soft materials naturally absorb reflections better than empty spaces with hard surfaces.
Essential Equipment for Quality Recording
Budget-conscious podcasters can achieve professional results with modest equipment investments. A quality USB microphone like the Audio-Technica AT2020USB+ or Rode NT-USB provides excellent sound quality without requiring separate audio interfaces. These microphones connect directly to computers, simplifying setup while delivering professional results.
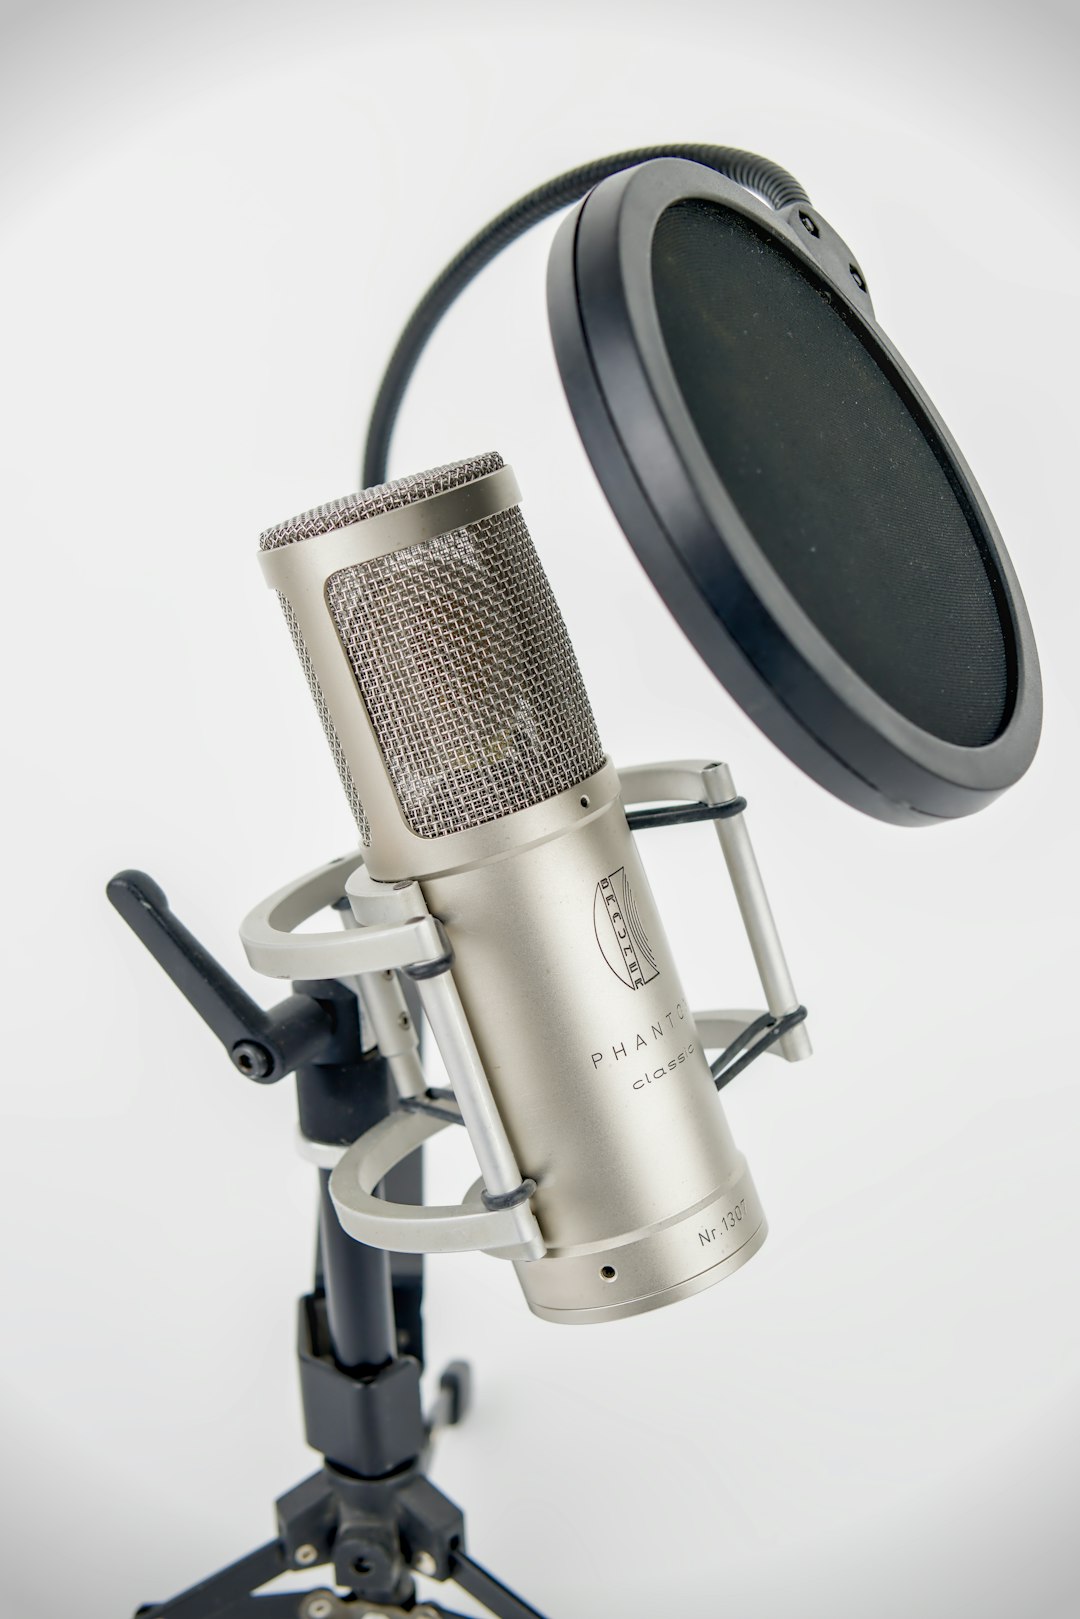
For traditional XLR microphones, the Shure SM58 or Audio-Technica ATR2100x paired with budget interfaces like the Focusrite Scarlett Solo create capable recording chains under £200. Closed-back headphones such as the Audio-Technica ATH-M30x enable accurate monitoring during recording without breaking the bank.
Acoustic Treatment Fundamentals
Acoustic treatment controls room reflections that create hollow, echoey recordings. Professional acoustic panels absorb mid and high frequencies, while bass traps control low-frequency buildup in room corners. However, DIY solutions provide surprising effectiveness at minimal cost.
Heavy moving blankets or thick curtains hung on walls absorb reflections effectively. Rockwool or mineral wool insulation wrapped in fabric creates affordable acoustic panels. Position treatment at first reflection points, the areas on walls where sound bounces directly from speakers or microphones to listening positions.
DIY Acoustic Solutions
Building basic acoustic panels costs significantly less than commercial options while providing comparable performance. Construct simple wooden frames from 1x4 lumber, fill with mineral wool insulation, and wrap in breathable acoustic fabric. Four panels measuring 60x120cm provide substantial acoustic improvement in typical bedroom-sized studios.
Corner bass traps control problematic low frequencies that muddy recordings. Build triangular frames to fit room corners, pack them with insulation, and cover with fabric. Even basic DIY treatment transforms problematic rooms into usable recording spaces.
Microphone Technique and Positioning
Proper technique maximizes equipment performance regardless of budget. Position microphones 6-12 inches from your mouth, maintaining consistent distance throughout recordings. Use pop filters to reduce plosive impacts from "p" and "b" sounds that create unpleasant thuds in recordings.
Desk-mounted boom arms provide better positioning flexibility than desk stands while reducing transmitted vibrations from typing or desk movement. The Rode PSA1 or similar boom arms enable precise microphone positioning and eliminate handling noise that degrades recording quality.
Recording Software and Workflow
Free recording software like Audacity provides comprehensive editing capabilities suitable for professional podcast production. The software handles multi-track recording, basic processing, and final export without subscription costs. For Mac users, GarageBand offers similar capabilities with slightly more polished interface design.
Establish consistent recording workflows that ensure quality and efficiency. Create project templates with proper track configurations, gain settings, and processing chains. This preparation reduces technical issues during recording sessions and streamlines post-production processes.
Cable Management and Studio Organization
Organized studios improve workflow efficiency and reduce technical problems. Use cable ties or velcro straps to manage microphone cables, preventing tangling and accidental disconnections. Label all cables and connections to simplify troubleshooting when issues arise.
Dedicated storage for equipment protects investments and maintains organization. Simple shelving units or storage boxes keep microphones, headphones, and accessories organized between recording sessions. Proper storage extends equipment life and ensures everything's ready when inspiration strikes.
Lighting Considerations for Video Podcasts
Podcasters adding video components need basic lighting to ensure professional appearance. Budget LED panels like the Neewer 660 or similar options provide adjustable, flicker-free lighting suitable for video recording. Position a key light at 45 degrees from camera position and add fill light to control shadows.
Natural window light supplemented with affordable LED panels creates professional-looking video on tight budgets. Use curtains or diffusion materials to soften harsh sunlight, creating flattering illumination without investing in expensive lighting kits.
Soundproofing Versus Acoustic Treatment
Understanding the difference between soundproofing and acoustic treatment prevents wasted investment in inappropriate solutions. Soundproofing prevents sound transmission between spaces, requiring substantial construction involving mass, isolation, and air gaps. True soundproofing exceeds most home studio budgets and proves unnecessary for many podcasters.
Acoustic treatment controls sound behavior within your recording space, dramatically improving recording quality without major construction. Focus investment on acoustic treatment rather than expensive soundproofing unless external noise presents insurmountable problems.
Budget-Friendly Studio Upgrades
As budgets allow, strategic upgrades improve recording quality and workflow efficiency. Upgraded microphones like the Shure SM7B or Electro-Voice RE20 provide noticeable quality improvements for voice recording. Better audio interfaces with superior preamps and converters enhance overall signal chain quality.
Additional acoustic treatment further improves room sound. Ceiling-mounted panels control overhead reflections, while additional wall treatment increases overall absorption. These incremental improvements compound over time, transforming basic home studios into genuinely professional recording environments.
Building a professional podcast studio on a budget requires strategic thinking and realistic expectations. Focus investment on essential equipment and basic acoustic treatment, developing technical skills that maximize equipment performance. This foundation enables professional-quality recordings while leaving room for future upgrades as your podcast grows and budget expands.