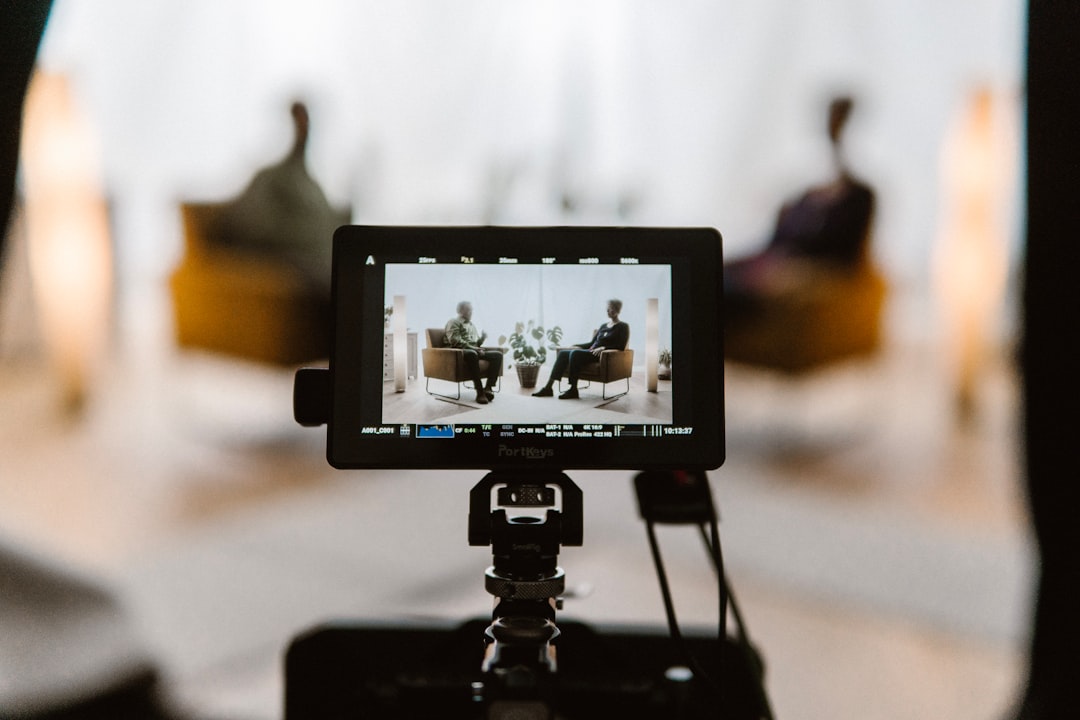
Three-point lighting remains the foundation of professional video production, creating dimensional, flattering illumination that separates amateur footage from broadcast-quality content. Understanding and implementing this classic technique elevates interview videos regardless of budget or equipment level.
The Foundation: Understanding Three-Point Lighting
Three-point lighting consists of the key light, fill light, and backlight, each serving a distinct purpose in creating dimensional, professional-looking video. The key light provides the primary illumination, establishing the overall exposure and mood of your shot. The fill light softens shadows created by the key light, while the backlight separates your subject from the background, adding depth and dimension.
This lighting arrangement creates the foundation for virtually all professional video production. Whether shooting corporate interviews, YouTube content, or documentary-style pieces, mastering three-point lighting gives you precise control over how your subjects appear on camera. The technique adapts to various styles, from high-contrast dramatic lighting to soft, even illumination for corporate content.
The Key Light: Your Primary Source
Your key light establishes the primary look of your interview. Position it 30 to 45 degrees to one side of your camera and slightly elevated above eye level, angled down toward your subject. This creates subtle shadows that add dimension to facial features without appearing harsh or unflattering.
For interview work, softer key lights generally produce more flattering results. Large LED panels with diffusion or softboxes create gentle, even illumination that minimizes skin imperfections while maintaining natural-looking dimensionality. The intensity of your key light determines your base exposure, so set it first before adjusting other lights.
The Fill Light: Controlling Contrast
Fill light reduces the contrast created by your key light, filling in shadows to achieve your desired look. Position the fill light on the opposite side of the camera from your key light, typically at the same height or slightly lower. The fill should be less intense than the key light, creating a lighting ratio that adds dimension without excessive shadow.
A common starting point involves setting fill light intensity at half the power of your key light, creating a 2:1 lighting ratio. This produces natural-looking results suitable for most corporate and interview content. Increasing the ratio creates more dramatic, cinematic looks, while decreasing it produces flatter, more evenly lit subjects appropriate for certain corporate applications.
The Backlight: Adding Separation and Depth
Backlighting separates your subject from the background, creating visual depth essential for professional-looking video. Position the backlight behind and above your subject, angled down to create rim lighting on shoulders and hair. This subtle highlight prevents your subject from visually merging with the background.
Backlight intensity typically matches or slightly exceeds your key light, but this varies based on hair color and desired effect. Subjects with dark hair often require stronger backlighting for visible separation, while those with lighter hair need less intensity. The goal is subtle rim lighting that adds dimension without creating distracting hot spots.
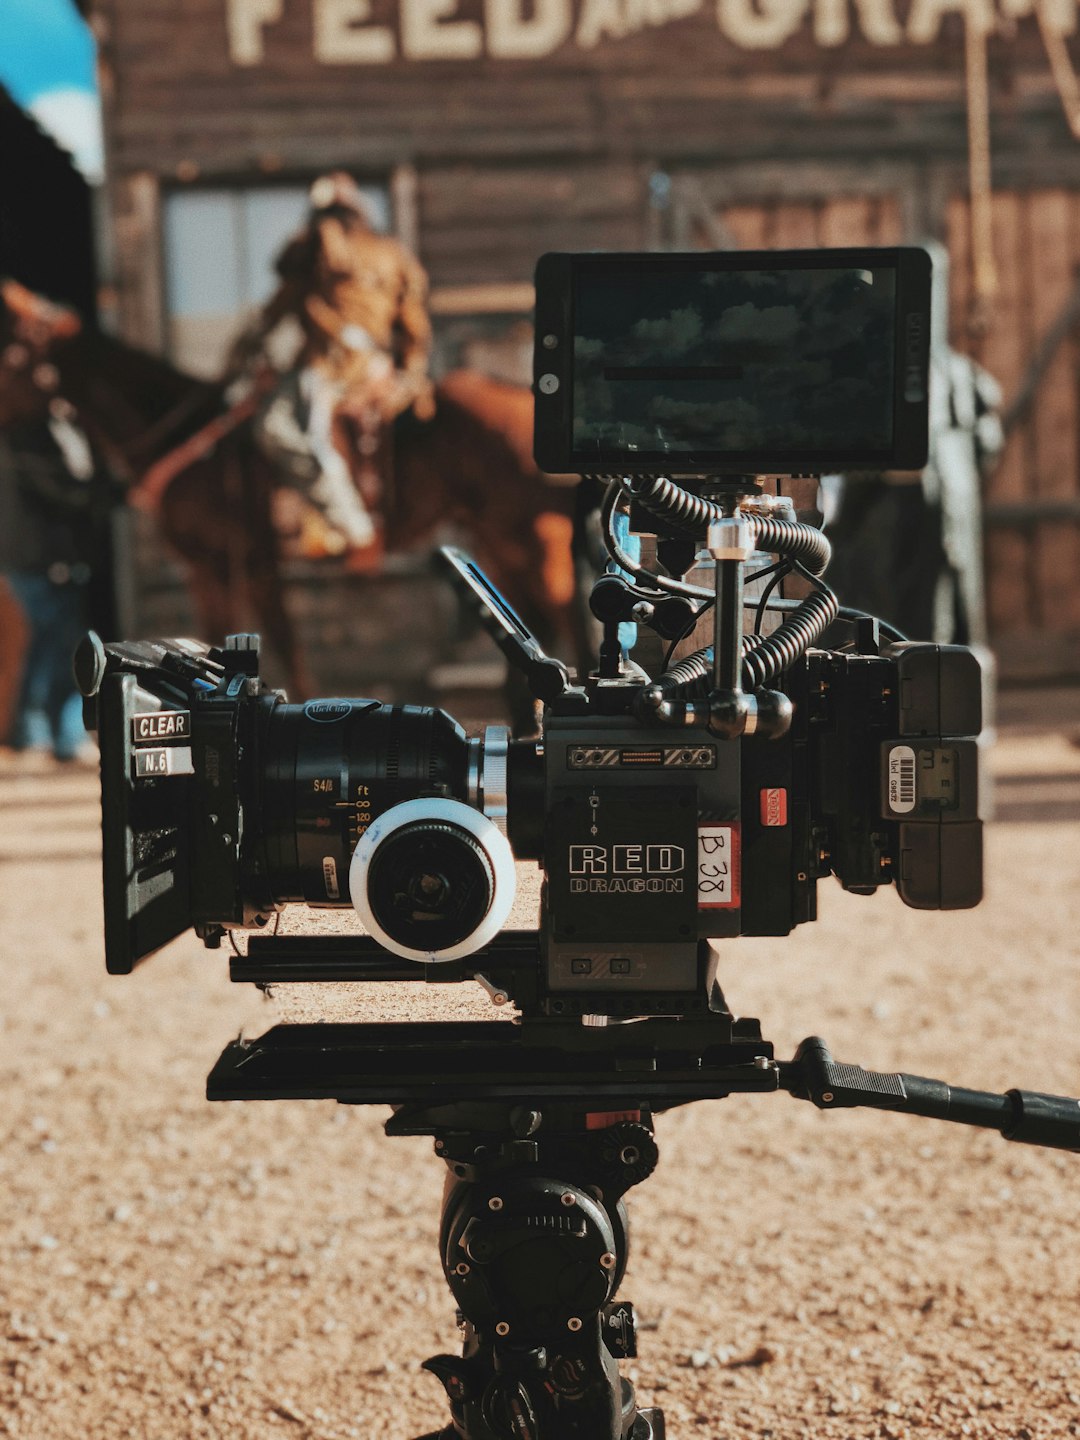
Equipment Selection and Recommendations
Modern LED panels have revolutionized interview lighting, offering color temperature control, dimming capabilities, and cool operation. For key and fill lights, consider panels with large surface areas like the Aputure 600D Pro or Litepanels Astra series. These create soft, controllable light ideal for interview work.
Smaller LED panels or Fresnel lights work well as backlights, as you need less surface area for rim lighting effects. The Aputure MC RGBWW or similar compact LEDs provide sufficient output while offering positioning flexibility. Budget-conscious producers can achieve excellent results with Godox or Neewer LED panels, which provide solid performance at accessible price points.
Light Modifiers and Quality
Light modifiers dramatically impact the quality and character of your illumination. Softboxes create gentle, wrapping light excellent for interviews, while umbrellas offer similar softness with easier setup. For maximum control, grid attachments focus light precisely where needed, preventing spill onto backgrounds or other areas.
Diffusion materials soften harsh light sources, expanding effective light size and creating more flattering illumination. Even inexpensive LED panels benefit from diffusion, whether through dedicated softboxes or simple diffusion fabrics. Experiment with different modifiers to understand their effects on light quality and subject appearance.
Color Temperature and White Balance
Maintaining consistent color temperature across all three lights ensures natural-looking skin tones and prevents color cast issues. Most interview lighting works best at 5600K daylight balance, matching natural window light and creating neutral, professional-looking footage.
Modern bi-color LED panels allow precise color temperature adjustment, essential when matching existing ambient light or creating specific moods. Always white balance your camera to your key light after setting up, ensuring accurate color reproduction. Custom white balance produces far superior results to auto white balance in controlled lighting situations.
Common Mistakes and How to Avoid Them
Overlighting represents the most common error in interview setups. More light doesn't automatically mean better results. Excessive fill light eliminates dimension, creating flat, unflattering illumination. Start with less fill than you think necessary and gradually increase intensity while monitoring results.
Poor backlight positioning creates either no separation effect or distracting hot spots on subjects' heads. The backlight should graze across shoulders and hair, not blast directly onto the top of the head. Take time to fine-tune backlight angle and intensity for subtle yet effective separation.
Ignoring background lighting leaves backgrounds too dark or creates insufficient separation between subject and background. While not part of traditional three-point lighting, background illumination enhances overall production value. A simple light aimed at the background prevents it from going completely dark and adds visual interest to your frame.
Practical Setup Workflow
Begin by positioning your subject and camera, establishing your frame before introducing lights. Set your key light first, establishing base exposure and overall mood. Add the backlight next, adjusting position and intensity for proper separation. Finally, introduce fill light to achieve your desired contrast ratio.
Monitor results on a calibrated reference monitor rather than relying solely on your camera's LCD screen. Take test recordings and review them carefully, watching for unwanted shadows, hot spots, or uneven illumination. Making adjustments before recording saves significant time compared to attempting corrections in post-production.
Mastering three-point lighting transforms interview video quality, creating professional results that engage viewers and communicate credibility. While the basic setup remains consistent, developing intuition for lighting adjustments based on different subjects, environments, and creative goals separates competent work from truly exceptional production value.